How to Apply Nail Polish Like a Professional at Home
-
 avlontech6@gmail.com
 - Posted on
- 0 comments
For Distributors & Wholesalers
We welcome partnerships with distributors and wholesalers who wish to expand their business with a trusted and growing cosmetic brand.
Why Partner with Avlon International?
- Wide range of cosmetics: Nail polish, mascara, kajal, eyeliner, liquid lipstick, lipstick & more.
- Premium quality with competitive wholesale pricing.
- Attractive margins and fast-moving products.
- Assured support with marketing materials & promotional offers.
- PAN India shipping with secure packaging.
📦 Minimum Order Quantity (MOQ): 1 master carton (72 trays)
💰 Special Discounts: Available for bulk & long-term partners.
🚚 Dispatch & Delivery: PAN India in around 10-15 days.
📞 Contact Us:
Phone / WhatsApp: +91 88105 67775
Email: contactus@avloninternational.com
Website: www.avloninternational.com
Apply Nail Polish Like a Professional at Home
Achieving a salon-quality manicure at home may seem like a daunting task, but with the right techniques and tools, you can apply nail polish like a professional. Whether you’re preparing for a special event or just want your nails to look flawless daily, learning how to properly apply nail polish can make all the difference in the appearance and longevity of your manicure.
In this guide, we’ll walk you through step-by-step instructions, share essential tips, and highlight common mistakes to avoid, ensuring that your home manicure looks beautiful and lasts longer.
1. Gather Your Nail Polish Essentials
Before you start applying nail polish, it’s essential to gather all the necessary tools. Having everything you need on hand will make the process smoother and more efficient.
Here’s a list of basic items to have for a professional-looking manicure:
- Base Coat: A base coat helps the polish adhere to your nails better and prevents staining from colored polish.
- Nail Polish: Choose your favorite color. Make sure it’s not too thick or old, as this can lead to uneven application.
- Top Coat: A top coat seals in the color, adds shine, and protects your manicure from chipping.
- Nail File and Buffer: For shaping and smoothing your nails before applying polish.
- Cuticle Pusher or Stick: Helps push back your cuticles for a neat and tidy nail bed.
- Nail Polish Remover: To clean any mistakes or smudges during the application process.
- Cotton Balls or Pads: Useful for removing polish or cleaning up edges.
- Quick-Dry Drops or Spray (optional): These products can speed up the drying process if you’re short on time.
2. Prep Your Nails for Polish Application
The key to a flawless manicure starts with properly prepped nails. Taking the time to prepare your nails will ensure a smooth surface and better polish adhesion, resulting in a longer-lasting manicure.
Step 1: Remove Old Polish
Even if your nails appear clean, remove any residual nail polish using a non-acetone remover. This step eliminates oils, dirt, and leftover polish, providing a fresh canvas for your new polish.
Step 2: Trim, File, and Shape Your Nails
Using a nail clipper, trim your nails to the desired length. Then, use a nail file to shape your nails. The most popular shapes are square, oval, or almond. Make sure to file in one direction to avoid weakening or splitting the nails. Buff the surface of your nails gently to create a smooth base.
Step 3: Push Back Cuticles
Using a cuticle pusher, gently push your cuticles back. Be careful not to cut or push too hard, as this can cause damage. Pushing back the cuticles gives your nails a cleaner look and more space for polish application.
Step 4: Wash and Dry Your Hands
After prepping your nails, wash your hands to remove any dust, oils, or nail shavings. Dry your nails thoroughly, as moisture can interfere with polish adhesion.
3. Apply a Base Coat
A base coat is essential for ensuring the longevity of your manicure. It acts as a barrier between your nails and the polish, preventing staining, smoothing the nail surface, and helping the polish adhere better.
How to Apply:
- Apply a thin, even layer of base coat to each nail, starting from the base near the cuticle and working your way to the tip.
- Allow the base coat to dry completely before moving on to the next step.
Base coats also often contain strengthening ingredients that can help protect your nails from peeling or breaking, so don’t skip this step!
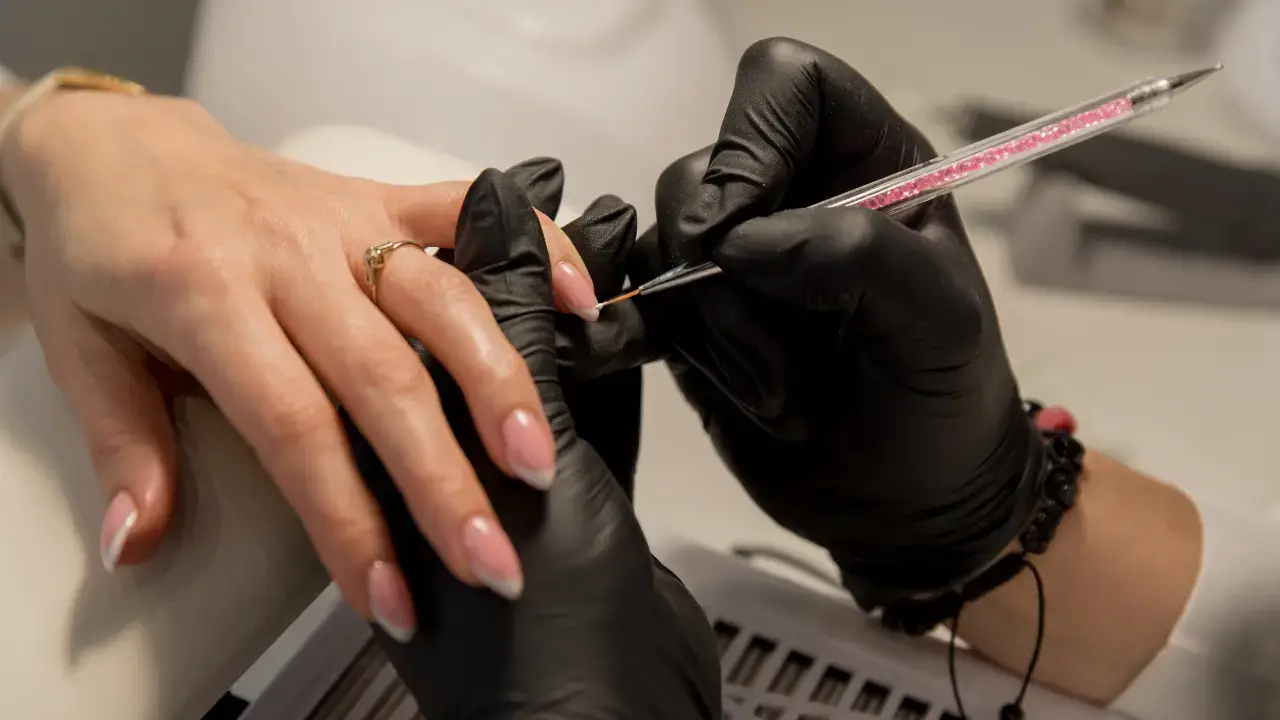
4. Apply Nail Polish in Thin Coats
The secret to professional-looking nail polish is to apply the color in thin, even layers. Thick coats can lead to uneven application, smudging, and longer drying times.
Step 1: Choose Your Polish
Select your nail polish color. Ensure the polish is not too thick or old. If it’s thick, add a few drops of nail polish thinner to achieve a smoother consistency.
Step 2: Apply the First Coat
- Start with a small amount of polish on the brush.
- Begin at the center of your nail near the cuticle, placing the brush a few millimeters away from the cuticle to avoid flooding the area with polish.
- Glide the brush toward the tip of the nail in one smooth stroke. Then, go back and apply the polish on both sides of the nail, making sure to cover the entire surface.
- Allow the first coat to dry completely before applying a second coat. Thin coats dry faster and more evenly, preventing smudges and bubbles.
Step 3: Apply a Second Coat
Once the first coat is dry, apply a second coat using the same technique. The second coat adds opacity and depth to the color.
Step 4: Seal the Tip
For longer-lasting wear, apply polish to the free edge (the tip) of your nails. This seals the color and helps prevent chipping.
5. Finish with a Top Coat
The final step to achieving a professional manicure at home is applying a top coat. A top coat adds a glossy finish, prevents chipping, and extends the life of your manicure.
How to Apply:
- Apply a thin, even layer of top coat over the entire nail.
- Be sure to also apply the top coat to the free edge of the nail to seal in the polish.
Top coats can also offer a variety of finishes, including matte, high-gloss, or glitter, so choose the one that matches your desired look.
6. Allow Nails to Dry Completely
Patience is key when it comes to drying your nails. Even if your polish looks dry on the surface, it can still smudge if you touch something too soon.
Quick-Dry Options:
- Use quick-dry drops or sprays to speed up the drying process. These products help set your polish faster, reducing the risk of smudges.
- Avoid using your hands for at least 10 to 15 minutes after finishing your manicure.
7. Clean Up Any Mistakes
Even the steadiest hands can make mistakes. To clean up any polish that may have gotten on your skin or cuticles, follow these steps:
- Take a small brush or cotton swab dipped in nail polish remover.
- Carefully wipe around the edges of your nails to remove any excess polish.
This step ensures a neat and tidy finish, just like a professional manicure.
8. Post-Manicure Care
Once your nails are dry, it’s important to maintain your manicure by moisturizing your cuticles and hands. Dry cuticles can detract from the appearance of your manicure, so apply cuticle oil to keep them hydrated.
Additionally, wear gloves when doing household chores or handling harsh chemicals to protect your nails from chipping and drying out.
9. Common Mistakes to Avoid
Here are some mistakes to avoid for a professional-looking manicure:
- Skipping the base or top coat: Both are essential for a long-lasting and smooth manicure.
- Applying thick coats: This can cause bubbles, smudges, and uneven drying. Always opt for thin layers.
- Not letting your nails dry fully: Rushing the drying process can ruin all your hard work.
Conclusion: Achieving a Salon-Quality Manicure at Home
Applying nail polish like a professional at home is easier than you might think. With the right preparation, tools, and techniques, you can achieve a smooth, glossy, and long-lasting manicure. Start by prepping your nails properly, apply thin layers of polish, and don’t forget the importance of a base coat and top coat.
At Avlon International, we believe that beautiful nails are within everyone’s reach. Explore our wide range of high-quality nail polishes, base coats, and top coats to elevate your at-home manicure game. With a little practice and patience, you’ll be able to create stunning nail looks that last.
📌 Disclaimer
The information provided in this blog is for general informational purposes only. While Avlon International makes every effort to ensure the accuracy and reliability of the information shared, we make no representations or warranties of any kind, express or implied, about the completeness, accuracy, reliability, suitability, or availability with respect to the content.
Any reliance you place on such information is therefore strictly at your own risk. Avlon International shall not be held liable for any loss, damage, or inconvenience arising in connection with the use of this blog or its content.
For official details regarding our products, distributor policies, or business partnerships, please contact us directly at WhatsApp +91 88105 67775.